This website uses cookies to improve your experience. We'll assume you're ok with this, but you can opt-out if
you wish. Cookie settingsI Agree
Privacy Overview
This website uses cookies to improve your experience while you navigate through the website. Out
of these cookies, the cookies that are categorized as necessary are stored on your browser as they
are as essential for the working of basic functionalities of the website. We also use third-party
cookies that help us analyze and understand how you use this website. These cookies will be stored
in your browser only with your consent. You also have the option to opt-out of these cookies. But
opting out of some of these cookies may have an effect on your browsing experience.
This website uses cookies to improve your experience while you navigate through the website. Out
of these cookies, the cookies that are categorized as necessary are stored on your browser as
they are as essential for the working of basic functionalities of the website. We also use
third-party cookies that help us analyze and understand how you use this website. These cookies
will be stored in your browser only with your consent. You also have the option to opt-out of
these cookies. But opting out of some of these cookies may have an effect on your browsing
experience.
Necessary cookies are absolutely essential for the website to function properly. This category
only includes cookies that ensures basic functionalities and security features of the website.
These cookies do not store any personal information.
Any cookies that may not be particularly necessary for the website to function and is used
specifically to collect user personal data via analytics, ads, other embedded contents are
termed as non-necessary cookies. It is mandatory to procure user consent prior to running these
cookies on your website.
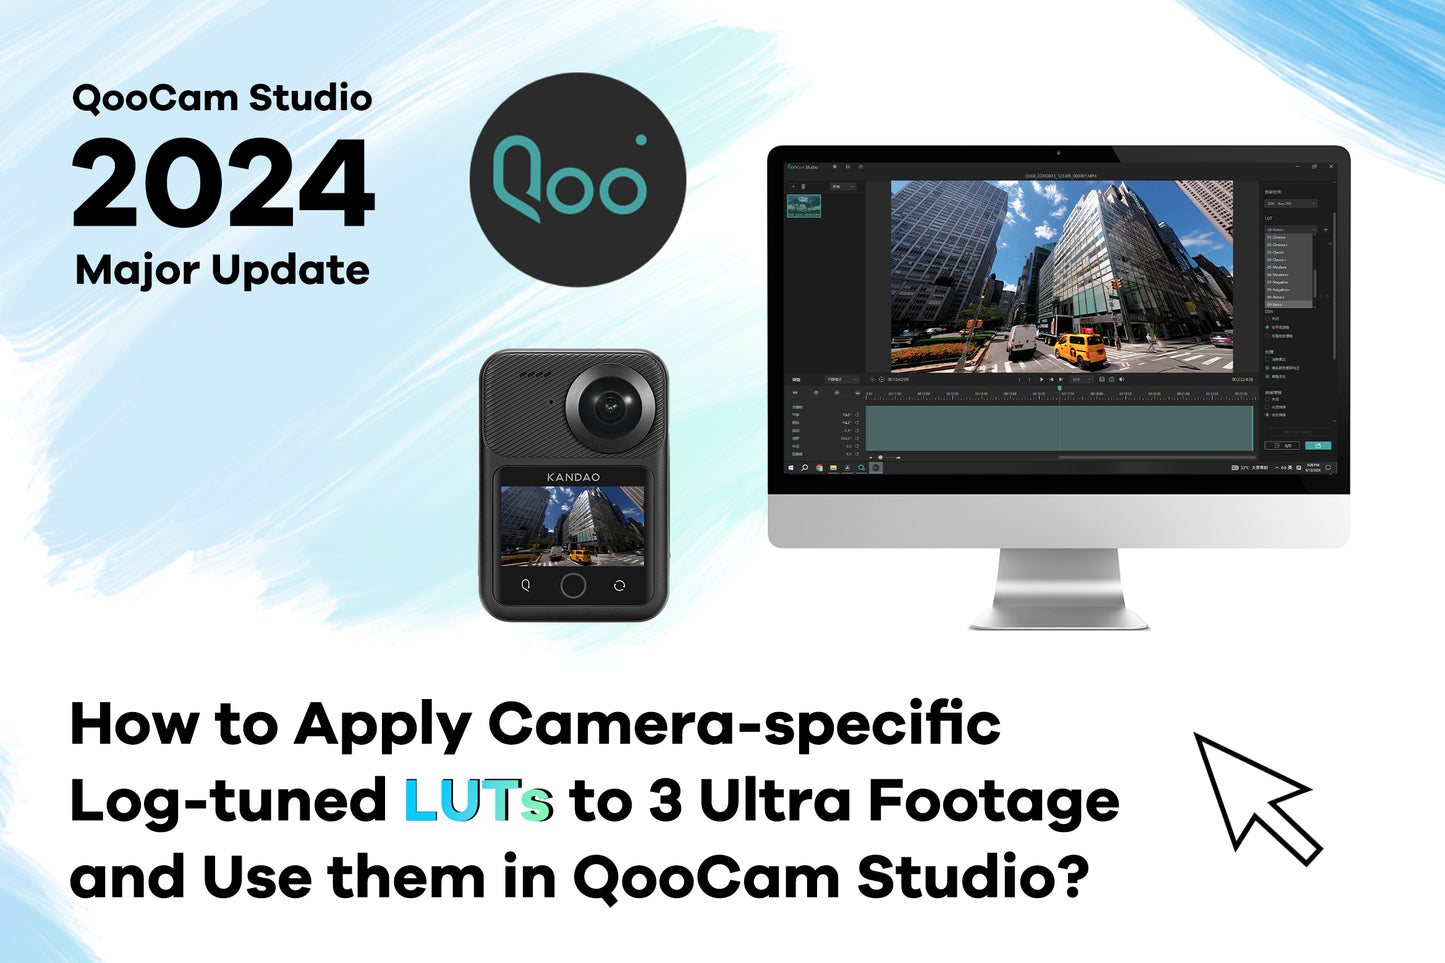
This tutorial is using DaVinci Resolve 1. In 「Project Settings」, set the 「Color Management」 to 「DaVinci YRGB」, the [Timeline Color Space] to [Rec.2100 HLG], and the [Output Color Space] to [Same as Timeline]. 2. The process typically requires about 4 nodes. Node 1:Adjust the brightness, using tools like「HDR – Color Wheels」. The reason that brightness adjustment is done in the first node is because different camera log gamma curves have different exposure biases, and after applying the LUT, the contrast usually changes significantly, making brightness adjustment fairly hard in later stage.The standard HLG gamma of the 「QooCam 3 Ultra」...
Unlock the creative possibilities of the Automatic Shutter Speed feature on your QooCam 3 Ultra. This function empowers you to set the upper limit of the shutter speed, maintaining control over motion blur and camera shake, all while leveraging the camera's automatic capabilities. ## Grasping Automatic Shutter Speed When set to automatic mode, the QooCam 3 Ultra's Automatic Shutter Speed function enables you to determine the slowest shutter speed the camera can utilize. This ensures that your images remain crisp and unaffected by motion blur or camera shake, even as the camera automatically adjusts to varying lighting conditions....
Since the QooCam 3 Ultra runs on the Android operating system, directly connecting it to a Mac with a data cable won't allow the computer to recognize the files on the camera. To import files from the camera to your Mac, you'll need to install a specific software. Here's a step-by-step guide: 1. Visit the official website of QooCam 3 Ultra,you can download the “Android File Transfer”software on the “download”page. Download Android File Transfer now > 2. Once downloaded, install the software on your Mac. 3. Connect your QooCam 3 Ultra to the computer using a USB cable. 4. Launch...
1. Edit on one footage.
2. Select footages to be synced and Press the button “Sync to selected”.
3. Choose parameters to be synced on the panel and press the button “Paste”.
Download QooCam Studio MacOS>
Download QooCam Studio Windows>
(If you have any questions, please feel free to contact our service team at service@kandaovr.com for assistance.)